3 Healthy Ways to Perfect Your Hairstyles

You can twist it, cut it, pull it up into a perfectly coiffed bun, or let it fall freely along your neck and shoulders. Hair can look beautiful when it is well managed and groomed into a trendy hairstyle, but it can also become unhealthy if your styling techniques aren’t safe to use in the long run. Flat irons and heat-based styling tools should only be used with heat protectant serum and on the lowest possible setting if you don’t want split ends. Pulling your hair into a bun can also help to protect your ends, but you don’t want to develop traction alopecia as a result of pulling your strands too tightly. In addition to using a vibrating flat iron, you may want to reinforce your locks with a protein treatment and start cleaning your scalp with a clarifying shampoo. Here are three things that can be done to protect your hair so that all of your hairstyles look perfect.

hairstyles

Royalty Free Photo

1. Start with a Clean Scalp

When you use any type of product on your hair it is going to leave some type of residue behind. Caked up hair styling product residue may even end up on your scalp. If you have ever tried to pull your hair into a ponytail but your tresses looked limp or your scalp looked greasy when you were done, there is likely a build-up of products leftover in your hair. Even if you use shampoo to vigorously clean your mane there might still be residue left on each strand when you get done. Try a clarifying shampoo so that you’re able to make your hairstyles neater and keep your locks healthier.

2. Deep Condition Your Tresses

Many people don’t know that hair needs to be moisturized from inside and out in order to stay strong and healthy. If you just dab on a bit of conditioner while you’re in the shower and wash it out after a minute or two, your hair could be missing a vital element. Begin deep conditioning your hair at least once per week on a day that you have a few extra hours to dedicate to nourishing your hair. You can wear a conditioner cap to keep your tresses properly heated or even sit under a hooded dryer for at least 30 minutes. It will only take a few sessions before you’ll see your hairstyles coming out much more nicely.

3. Use Quality Styling Tools

Although most women have at least one hair dryer, a flat iron, and a curling iron, it is more likely that you’ve got an entire bathroom drawer filled with various combs, brushes, and other hair styling tools. While variety is the spice of life, you need to be selective about what tools you use to style your hair. Using high-quality flat irons and hair dryers on your hair will make your tresses easier to style while ensuring that they stay as healthy as possible.

Getting your hair to look great won’t matter much if your locks get dried out and matted in the interim. Always treat your hair with care when pulling off a complicated hairstyle and go to a professional if you have concerns about coloring or bleaching your hair. There’s also nothing with using a wig or hairpiece to simulate a particular style if you don’t want to leave your natural hair stressed out.

Top Tips for Choosing the Right Lipstick

By Laura Jones / 06/27/2017

When it comes to makeup, lipstick is often the least thought about when it comes to choosing. Of course, this isn’t to say that lipstick doesn’t get a lot of thought. It’s the act of choosing that often gets swayed by marketing techniques and buzzwords.

If you love wearing lipstick and are interested in some tips and techniques to help you choose the right color, style, and type, then this article is for you.

Clean and Fresh

The first tip comes in the form of lipstick preparation. Just as you wouldn’t paint a wall before cleaning it, always clean your lips before you apply any type of lipstick. Even if you aren’t going to wear lipstick and stop reading right now, at least use a moisturizer or balm after washing.

Always Use a Lip Liner

Before you begin thinking about all of the memes online with people wearing black lip liner and bright colored lipstick, consider something more realistic. A nude oriented liner can be a great option if you just want something to keep your gloss or foundation matched color in check. If you are looking to get adventurous, don’t be afraid to consider contrasting colors or even blended options. Speak with your local makeup counter assistant for more ideas.

Wear It Appropriately

Do you know what looks good at the club? Glittery lipstick. Do you know what doesn’t look good in the office? You guessed it, Glittery lipstick. Before you apply your lipstick, give it a second thought as to whether it’s appropriate for where you are going. If you’re looking for a broader range, check out the Groupon Coupons page for Walmart at travel packs with color options in one stick.

Remember Your Own Lip Color

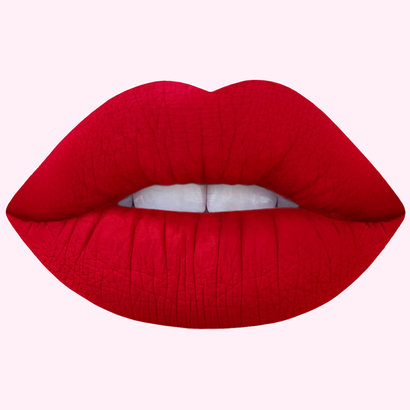
If you were to paint onto different colored canvases then you would expect the same paint to look different. The same idea applies when choosing your lip color. If you see a bright red that looks great on the stick but not on your lips, consider that your natural lip color may be affecting it and look for colors a few shades up and down the spectrum.

Don’t Limit Yourself to One Color

By brushing a small section of the middle of your lip with a bright stick or powder, it can help to open up your lips when you apply your chosen color on top. To make this effect even stronger, consider shading a small section at the corners of your lips. The idea behind this tip is to use different colors if you have the creative flair for it! Don’t feel that you can only wear one color.

With so much attention paid to makeup products for your eyes and techniques to get your eyes on point, lips are often left as a second or complementary thought. The next time you sit down to design your face, think about your lips first and design the rest of your face around them. You will be surprised at the remarks!

4 Ways To Grow Your Eyebrows

eyebrows

So you want to grow out your eye brows but not sure how?

They have taken off too much of your eyebrow hair! No! Does this sound familiar?

Don’t worry, it happens to a lot of us ladies. You might decide to go down to your local beautician and ask her to give your brows a little tidy up but then actually wind up with a missing tail. OR for the more brave among you, maybe you have gone at yourself with a magnifying mirror only to realize that “wow I’ve taken off too much hair!”

If this sounds familiar, don’t worry! I’ve put together four of my top ways to give your brows the treatments they deserve, getting them back into great shape in no time. Reason on!

  1. Lose the tweezers ladies

Often we might not even realize that we’re plucking away. You may have noticed with other girls or if you are a beautician yourself, that when some of your clients try to grow their own brows back, they unknowingly remove more than just a couple of hairs but in fact, they’re taking away a lot more than they wanted.

Believe it or not, brow hair takes between four and six months for it to fully grow back. However,  each of your hairs is at a different stage of its life so it makes to very difficult to judge your true natural position.

Leaving them all alone for about six months is the only way to see a true and accurate version of your natural brows.

  1. Its all in the fringe

I know, I know! Leaving your eyebrows alone is probably a challenge for you, as it is for many girls. Perhaps, what you could do with is a fringe.

Simply let your hair down girls! Maybe you should consider a new hair style that suits your overall look and go talk with your stylist. This could solve all of your problems that you think you might have with your brows.

  1. Growth serum

Growth serum can work for a few things, as regards eyebrows. There are good ones out there but some can cause a dryness around that area. There are also dry oils available, that you can even wear some makeup over, so this is a great option too girls!

  1. Go to a professional to get them shaped

So you have finally grown out your eyebrows, going through the dilemma and waiting game. Now, the fourth way that you might like to consider is to do some research into an excellent beautician specializing in shaping those brows.

Although it does take months for you to re-grow those hairs, to remove it, it merely takes seconds! Choosing someone who is a specialist is a wise decision as opposed to someone who only provides brow treatments as an additional service.

A brow treatment like this,  would usually take about 45 minutes. It starts off by measuring your face using a thread.


So there you go, four ways to get those beautiful brows back! Try one.

Have you ever truly thought about the fashion and its truly meaning?

By Laura Jones / 04/10/2017
About the fashion

Fashion is probably one of the most common words among girls all over the world. However, is there anybody who can describe us the truly meaning of this word, or at least give us some its definition? When we say fashion, do we thing on the same meaning or every country and every nation has the story on its own.

Fashion all over the world

I have been traveling a lot for the past ten years, and I have to admit that the fashion is completely different form one part of the world to another. What is normal for classical European girls can be inappropriate for the girl that comes from the eastern part of the world. On the other hand, what is normal for Eastern girls can be an offense for American girl and so on. No matter how cosmopolitan we think, we are there are differences and variances from country to country. I came to a conclusion that the best way to understand the fashion of some country is to try to understand their culture, traditions, and habits, even a climate is important and affects a lot the fashion.

Inner beauty or a sort of rebellion

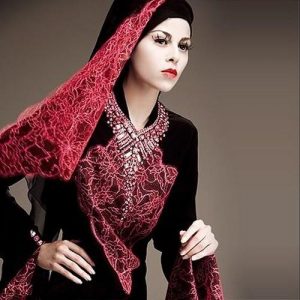
Arab FashionThe point of every type of style is to show your beauty. In some cases, women need to express their need to feel free. Everyone wants to show its best qualities. I noticed that women who have to cover their complete figure usually have a lot of make-up. It is probably a way to attract the attention. Because no matter what religion or nation woman is, she has a need to attract the opposite gender. They also use a lot of jewelry; I was enjoying it when I was in Abu Dhabi.

Sometimes we can notice that girls wear clothes, these clothes sometimes are expressing a little bit aggressive and negative attitude.This is usually common among teenagers where they just want to distinguish themselves from others and to express their rebellion and that teenage spirit. Usually, they wear alternative kind of jewelry and piercing is very often part of this fashion or tattoos. They also dye their hair in very unusual colors such as fluorescent green, pink or red.

In a conclusion

It leads us to the conclusion that fashion represents a sort of expression. It shows our attitude, our opinion, our way of thinking, or our tradition and even our character. You can have found out immediately whether the person you are talking to for the first time in your life introvert or extrovert. Yes, all that according to his or her clothes. You can even realize if the person wants to hide something behind those clothes.

Latest Fashion Trends


If you want to see the true about somebody look him in his hands

By Laura Jones / 04/02/2017
Hands beauty

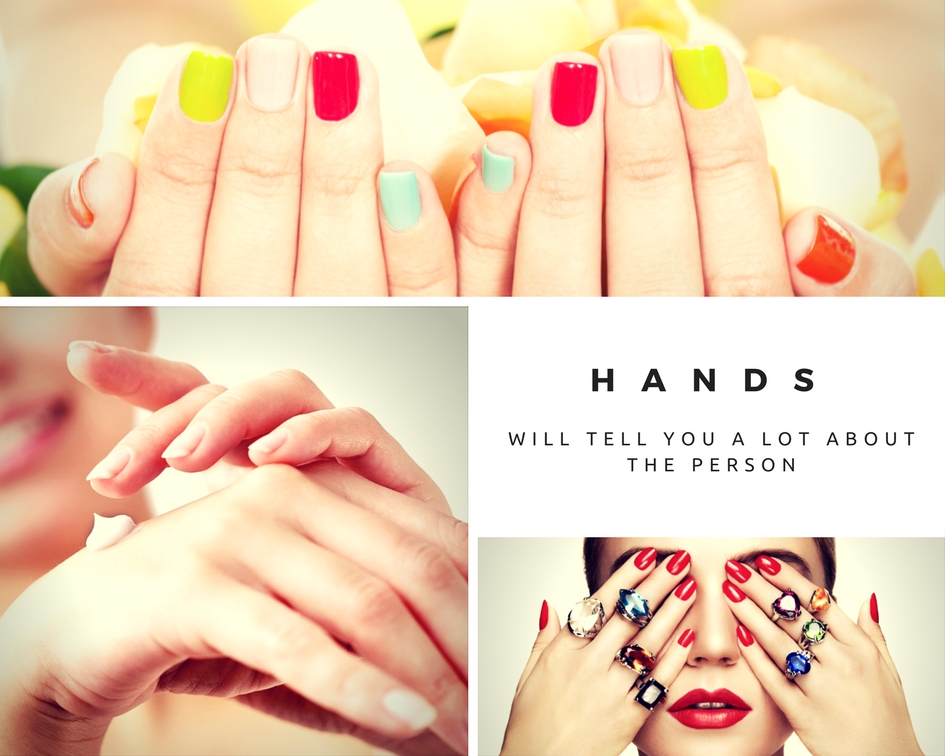
A lot of people think that the mirror of your souls is your eyes. There is true about this, and you really can see the character in the eyes of the person but if you want to know what that person does for a living look it in her or his hands. They will tell you a lot about the person you are speaking to.

How nails affect the beauty of your hands?

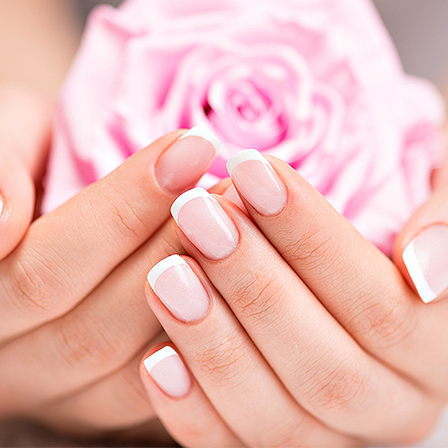
Nails can make a miracle. They are very important for the look of your fingers and hands in general. French manicure was very popular in the past 50 years, due to its clean look. Nowadays, manicure became a sort of art. You can see real landscapes and work of art on them. You can wear completely different colors from your nail color, and it goes perfectly fine. Everything is in nowadays, and nobody will judge you. Therefore, you should have trust in your imagination, and you should start playing with colors.

Hands

Shape of your nails and the effects that you can achieve

You would be surprised how the shape of your nails can affect your hand’s entire look. If your hands are fatty and you want to make them look more elegant, you need to choose less rectangle look. On the other hand, if you already have long fingers choose short nails, you certainly don’t want to look like Edward Scissor hands. If you are not quite sure which shape is the best for your type of hands, ask for professional help. There are a lot of experts that can help you to choose the most appropriate for you.

Natural look of your nails for busy and successful woman

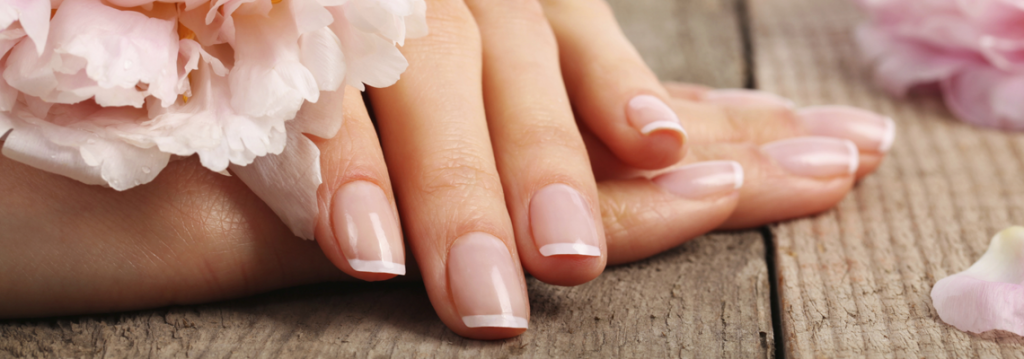
french manicureIt is maybe the best choice for a very busy woman. Choose a possible natural look so you can stop worry about what combination matches with your nails. Colored nails are fine when you are a teenager and when you have time to change on a daily basis. The natural look is the best solutions for women that don’t have time to spend in beauty salons. Natural colors and nicely polished nail surface are just what you need in this case. The length of your nails should be short, especially if you use your hands for work.

No matter what type of nails you decide to have you need to be aware that your nails will represent what you are and what you do. It is the first thing that people notice, after your eyes of course, and you certainly do not want that somebody gets wrong impression about you and your personality.


Never neglect your health

By Laura Jones / 03/28/2017
healthy 4

Beside your look and your entire appearance, you need to be aware that your health is the most important. Do not take it for granted. No matter how difficult is to believe you need to be aware that the health will affect your appearance more than anything. Just pay attention to your skin. Your skin is a real story teller, and every illness will be shown through your skin. You will notice how the color of your face is different when you are sick, or you are not feeling well.

healthy and beautiful

How to be healthy and beautiful at the same time – a good sleep is a key to healthy condition

The good news is that these two factors always go together. If you think that it is difficult to be healthy, we can tell you a little secret. The keyword for a healthy is to find the balance in your life. The balance is the source of beauty too. You certainly heard about beauty sleep and how it is important for your health and your condition in general. Your body needs to get enough rest if you want to use it again tomorrow. If you wonder how much you need to get rest, we have to say that this depends on the person. Some people need about 9 hours per day, for others 6 hours is just fine. Here you need to learn to listen to your body, if you feel tired go to sleep, do not hesitate.

Physical activity is a must nowadays

healthy girlIt is a must, especially nowadays when we spend most of our time sitting or in one position for more than 8 hours. Make sure that you do at least once a day one of the exercises for your spine and spine muscles so you can improve your posture. You would be surprised how fast you can get rid of a back pain. To protect your knees do squats on a daily basis, only firm muscles can protect your knees. Start to run at least once a week to release from stress and to improve your health condition and prevent cardio diseases. Your heart needs to work out too, and this is the best way. It will also improve your respiratory system especially if you jog outside on fresh air.
Quality food as the best way to get enough energy for a day

No matter what you think, you are what you eat. Food is something that will affect your bone construction and even a smell and the color of your skin. If you don’t intake enough energy, your body will be exhausted, and you won’t be able to achieve all you want in one day.

4 Starter Steps For Applying Makeup

make up

Applying makeup really is a bit of an artistic skill

So ladies, you think you know how to put on makeup?

I have put together an introduction to applying makeup, the first four steps. Preparation is key so this article is really the basics to get you started.

  1. Remove your old makeup.

Start off with a clean slate! So remove any old or unwanted makeup before going at your face. Maybe you were out last night or were at a wedding a couple of days ago, chances are you’r face is full of makeup still.

You probably slept in your make up so wash it off and have a fresh face for your new makeup application. The problem is, is that if you try to apply a new layer of makeup over your old one then you are basically caking it on, so the end result will just look unnatural.

Cleanse ladies! You’ll need to remove any make up residue with a cleanser to stop any irritation or clogging of the skin. At the end of a long day, you should remove all of your makeup.

  1. Wash that face.

This might be obvious but in the same way you would remove any old makeup, you need to wash your face! Using a cleanser for your face, wash your face gently.

For one to two minutes, massage the cleanser in to remove any dead skin or bacteria built up in your pores before rinsing off your face with some cold water. You can then finish off, applying a moisturizer specifically for facial use.

  1. Priming your face.

Prime your face before adding your makeup. A primers purpose is to really enhance your makeups appearance and lifespan. Using your fingers, apply the primer, while covering the whole face with only a little amount.

Primers also help makeup to stay on for the day. Not, if you are going to be sweating at all, a primer is necessary.

  1. Apply a foundation.

Many types of foundation exist. They’re all basically applied using the same method. Cream, powder and liquid foundations will all try to give you a smoother complexion. This provides an even foundation for the rest of your makeup.

Using, a brush or damp sponge, apply the foundation, blending it into the lobes of your ears and neck if you need to. Use a skin-tone that matches your skin. The main thing is that you definitely don’t want harsh obvious line that goes from your jaws line right to your neck!

This will look unnatural and give a terrible unblended finish. Cover up any obvious blemishes with a concealer brush and foundation.

Tip: Liquid foundation could be used by applying with your fingers, although this method is likely to add bacteria and cause potential skin breakouts.

Preparation summary

  1. Prepare the face with a primer and moisturizer.
  2. Apply a skin-tone foundation to match your skin.
  3. If necessary, add concealer to blend in.

Check out the next steps for applying makeup in my next article!

4 Further Steps For Applying Makeup

make up artist

Nearly prepped!

In my first article on 4 Starter Steps To Applying Makeup, we looked at the basic foundations of getting your face ready. Now we will look at the final steps involved in the preparation stage.

  1. Apply the concealer

Concealer is used to even out the skin that may be blemished or to hide dark circles under your eyes. It can also be used to brighten up darker areas of your skin or for the higher points of your face using a lighter shade.

Using a concealer brush or clean fingers, you blend the concealer in the area under your eyes, using an upside down triangular pattern.

Use a shade that matches your skin tone to hide any areas of redness and any visible acne or spots. Then blend in the concealer edges so to seamlessly blend with your foundation.

  1. Apply your highlighter

Now that your foundation is completed, your face may now look flat and free of any contours due to the uniform colour. To give it some depth, you’ll want to create an illusion of some shadows and highlights.

For this, use a cream or powder highlighter to brighten up the deepest areas of your face. This will add some brightness and more life to your face than if you left it alone.

  1. Add some depth through contours

This is the opposite of highlights. Contouring uses adding a darker shade of powder to any areas that you would like minimized. Contouring under the cheekbones, nose, and under the jaws are the typical areas.

After your face is contoured, you could add colour using a bronzer.

  1. Sparingly, apply some blush

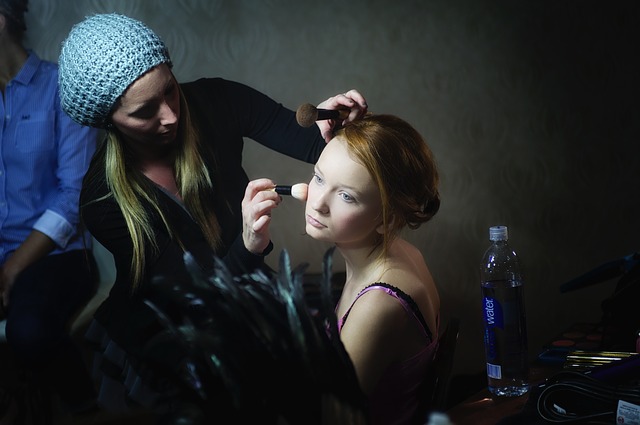
The last step in preparing your face is to add some blush to those cheek bones. The cheeks carry a bit of colour, no matter what your skin tone is or what race you are. It does vary a little from person to person.

Using a large brush, apply your blush onto your cheeks (the large areas that form when smiling). Be subtle with your blush. Simply add just enough to rejuvenate the natural colour.

  1. Fill those eyebrows (optional step)

This is optional so it really depends on the eyebrows fullness. However, it’s generally advised for people with thin or sparsely haired brows. So, select your colour. Choose among brow pencils, powders, or pomades matching closely to the colour of your hair.

Start off by doing an outline of your brows edges with little dashes so it mimics hair. Then just fill in the center of the brow using the same technique. You should go in the same direction that your hair grows.

Finally, set them with some clear or tinted gel so that they stay all day!

Basic makeup preparation summary

  • Prep
  • Mositurize
  • Prime
  • Foundation
  • Conceal
  • Highlight
  • Contour
  • Blush
  • Brow fill

So now that you have a great idea of preparing your face for makeup and getting that foundation looking nice, we will look at other areas of the face next. Check out my next article on eye makeup!

4 Steps To Adding Eye Makeup

beautiful girl

Its all in the eyes!

So in my last article, we looked at the basics of literally laying a good foundation onto your lovely faces. Now that you are familiar with applying foundation, contouring and matching skin tones, let’s take a look at the next key feature of your face. Those lovely eyes!

Below are the four steps to follow to give those eyes the attention they deserve. You’ll have all the boys winking at you.

  1. Eyeshadow primer

This is really optional, but applying an eyeshadow primer to your eyeshadow will help it stay on a lot longer.

If you don’t use the primer, then you might find that your eyeshadow starts to fade or starts to become somewhat oily in texture. After a few hours, it may start to collect in your eyelids creases.

Using your finger, just dab your eyeshadow primer on, trying to blend in from your lash roots right up to the crease. For the perfect blending base, then set it with a powder.

  1. Eyeshadow

There are different techniques for applying eyeshadow. One single color to cover your whole eyelid tends to be the most common one. Using a brush for eyeshadow, put it on your eyelid by beginning in the center, close to your lash line and then blend it outwardly.

In an effort to prevent the formation of harsh lines, you should fade the eyeshadow right into your natural skin tone at your crease in addition to both the inner and outer corners of your eyes.

For a more dramatic style, just apply another color but darker and matte, in the shape of a “C”, beginning at the outer corner of the lash line right up to the top, outside of the crease on your eyelid. Finish it off with a lighter shimmer color.

  1. Eyeliner

Eyeliner is supposed to make the lash line appear fuller. So, choose a color similar to your natural hair to match your lashes. If you want a smudgy style, then using an eyeline pencil will give this effect. Similarly, you can create a smoothly sleek look by going for a liquid or cream option.

Create a dotted line across your lash line, connecting all of the dots to create a full looking line. You could also wing the end of the lash up and out a little if you like. That’s a bit more adventurous though!

  1. Finally, mascara

To finish off your eyes, you will need some mascara. Several different mascaras are out there, it all depends on the look you’re going for. For short lashes, use a mascara to add some length.

For thin lashes, use a mascara that adds volume. Dip mascara brush in and lightly wipe away any excess. Look directly ahead and apply mascara to your top lash by upwardly stroking. Starting off with the inner eye and working to the outer eye.

For best results, use two coats, allowing it to dry.

Look forward with your new eyes!

So there you go, four simple steps to nice eye makeup. Now have a go at your own and practice with different styles and techniques.

4 Steps To Adding Colour To Your Lips

lip lining

Kiss me and tell me Im beautiful!

A lot can be said about a lady’s lips. When we are run down, or in cold weather we can get chapped lips and they don’t look pretty.

Adding some colour is a great way to bring some life back to your lips and also makes you look more attractive. I’ve put together four steps to adding colour to your lips, try it out!

  1. Smooth them out!

Ladies, smoothen out those lips. Using a primer, sealer or lip balm will help with this. In addition, this will help to give any other lip products that you use a more vibrant look and feel and extend their lifespan.

Anyway, who wouldn’t choose soft lips over hard ones? Also, using a good salve or lip balm will prevent them from flaking later as you go about your day.

  1. Line those lips

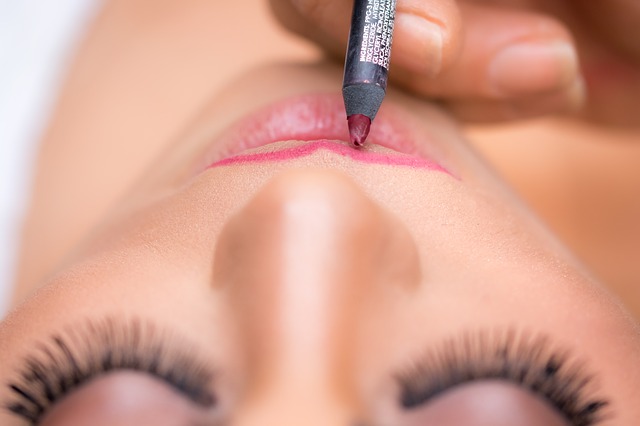
Using a liner to match your lip colour, line out your lips. Next, sharpen the liner and apply a line around your natural. Now, with your outline done, grab a pencil to continue filling in the lips.

What this does, is it evens out the texture and colour of the lips. Why is this important? It makes it easier when applying any lipstick or gloss later on.

  1. Its lipsticktime! (or gloss)

Choose the gloss or lipstick of your and apply it over your lipliner. If you want a more natural look, then stay with a nude styled shade. If it’s more of a bold look you are after then go for a brighter hue. Starting with the lip centre, blend the colour outwardly.

Be careful and try to get as close to the outer edges of your lips as possible. What about lipstick on your teeth? Not to worry! Simply stick a finger right into your mouth, pulling out the lipstick quickly!

  1. Lay the final touches

When your lips are done, you are finished! However, check yourself over to ensure there aren’t any smudges or bits of loose makeup that need to be brushed off using a fluffy brush.

At this point, if there are any mistakes, use some makeup remover to sort them out.

After you have beautified your faces, lips and eyes, you should probably set your face by spraying on a setting spray. Simply hold the bottle one foot away from your face, spraying it a couple of time onto your whole face.

Now, you are finally ready for the Oscars, a wedding, or simply a casual night out!

Kiss kiss kiss

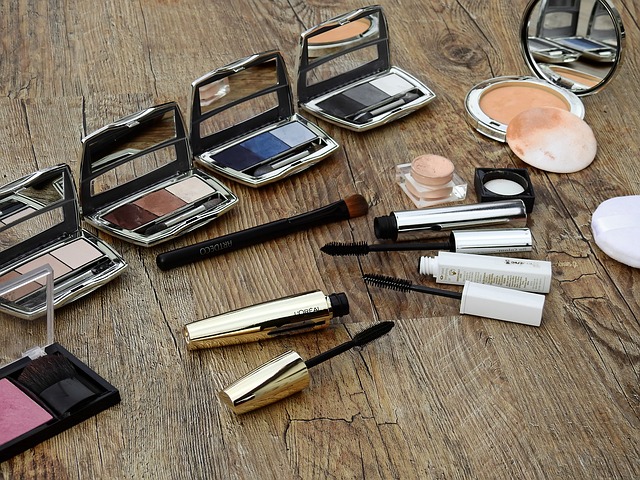
There are many products out there, from foundations and concealers to mascaras and all the brushes and tools of the trade you can imagine!

Some vary in quality, price and size. Depending on your budget, how often you get dolled up and what kind of a look you are going for, there should be something for you that meets all of your needs.

Even consider some of the natural product, although some might be a little more expensive, your future self will thank you for keeping that skin alive and healthier for longer!

1 9 10 11
Page 11 of 11